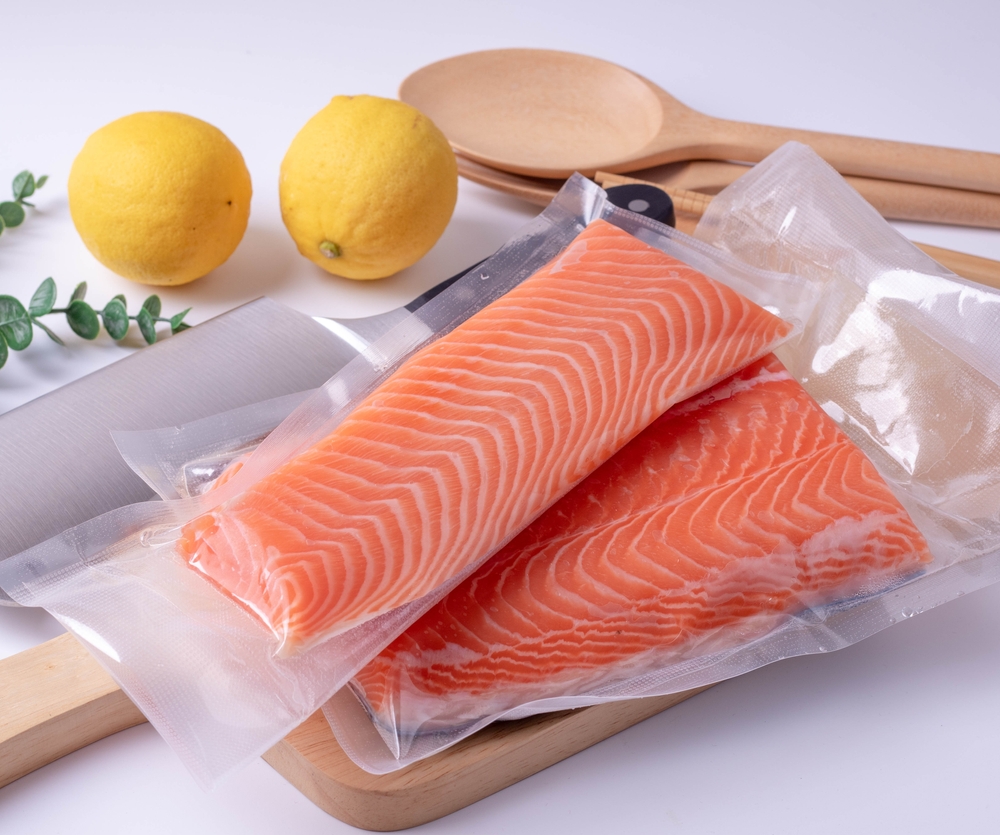
Vacuum sealing fish is an excellent way to preserve its freshness, prevent freezer burn, and extend its shelf life. Whether you are using our VS603 vacuum sealer, another vacuum sealing machine or as some call it, a Cryovac machine, the process is straightforward and ensures your fish remains flavorful and safe to eat. In this blog, we’ll guide you through the steps to effectively vacuum seal fish using different types of vacuum sealer bags, including channel bags and rolls, food vacuum bags and rolls, and more.
Step-by-Step Guide to Vacuum Sealing Fish
- Choose Your Vacuum Sealer and Bags
- Select the appropriate vacuum sealer for your needs. Options include our VS603 vacuum sealer, a very popular food vacuum sealing machine.
- Pick the right type of bags for your vacuum sealer. Common choices are channel bags and rolls, ribbed vacuum bags, and Foodsaver bags and rolls. If budget is a concern, cheap vacuum bags can also be used effectively.
- Prepare the Fish
- Start by cleaning the fish thoroughly. Remove any scales, guts, and bones if necessary. Pat the fish dry with paper towels to remove excess moisture, as this helps in achieving a better seal.
- Depending on your preference and the size of the fish, you may want to portion it into smaller fillets or steaks.
- Pre-Freeze the Fish (Optional)
- To avoid crushing delicate fish flesh during the vacuum sealing process, consider using the pulse function on our VS603 vacuum sealer, this is a controlled manual way of extracting the air out the bag. You can also pre-freeze the fish for about 1-2 hours on a baking sheet. This helps the fish retain its shape.
- Load the Fish into Bags
- Place the prepared fish into your chosen vacuum sealer bags. If you’re using rolls, cut the roll to the desired length and seal one end before filling.
- Make sure the fish pieces are laid flat and not overlapping to ensure even vacuum sealing.
- Seal the Bags
- Position the open end of the bag in the vacuum sealer. For machines that use channel bags and rolls or ribbed vacuum bags, ensure the bag is correctly aligned with the sealing strip.
- Activate the vacuum sealer. The machine will remove the air and create a tight seal. Follow the manufacturer’s instructions for your specific model of vacuum sealing machine or Cryovac machine.
- For food vacuum bags and rolls or Foodsaver bags and rolls, the process is similar. These bags are designed to work seamlessly with our VS603 vacuum seal machine
- Inspect the Seal
- Check the sealed bag to ensure that all air has been removed and the seal is tight. There should be no air pockets or leaks.
- If the seal isn’t perfect, you may need to repeat the sealing process or use a different type of bag.
- Store the Sealed Fish
- Label the sealed bags with the date and type of fish.
- Store the vacuum-sealed fish in the freezer. Vacuum-sealed fish can last significantly longer than fish stored using traditional methods, maintaining its quality and freshness for several months.
Tips for Successful Vacuum Sealing
- Avoid Overfilling: Leave enough space at the top of the bag to ensure a proper seal.
- Use High-Quality Bags: While cheap vacuum bags can be cost-effective, investing in high-quality bags like our Pac Food Micro Channel bags and rolls can provide better results and more durable seals.
- Monitor Storage Conditions: Even vacuum-sealed fish should be stored in a freezer to maximize its shelf life and prevent spoilage.
By following these steps, you can efficiently vacuum seal your fish, preserving its freshness and flavor for months to come. Whether you’re using a basic vacuum sealer or a more advanced Pac Food VS603 machine, the key is to use the right type of bags and follow best practices for sealing. Enjoy the benefits of longer-lasting, perfectly preserved fish with your vacuum sealing machine!

